So if you were excited when you thought this was going to be
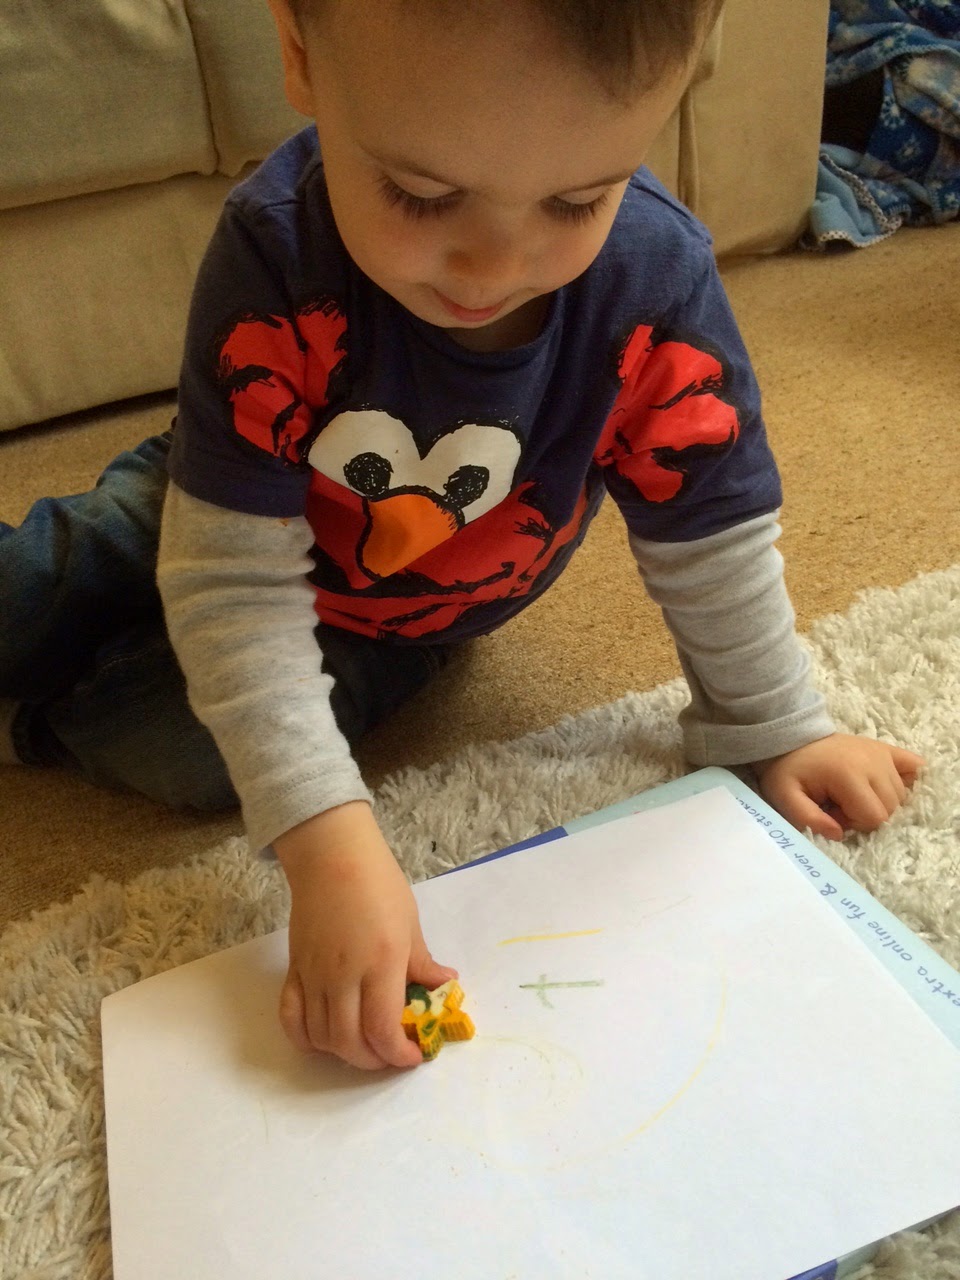
about a nice piece of toddler artwork using crayons like this:
.jpeg) |
| I am ridiculously proud of this picture - D's first "man"!! |
Then I'm afraid you're going to be disappointed... However
if you want to make some crazy fun crayon art with your toddler (or just by
yourself - it's strangely mesmerising and addictive to do!) then keep
reading...
.jpeg)
This is all over Pinterest/the Internet but as soon as I saw
it I knew we had to try it. It is actually really easy to do, is all about the
"process" and is very cheap (each of ours cost about £1.50!).
So what do you need?
A canvas - ours cost £1 each from Tiger. You could probably
also use thick watercolour paper secured onto a piece of backing card, but don't
use regular paper as it wont be thick enough to hold the weight of the
crayons/wax.
Wax crayons - we got a box of 48 for £1 (thank you
Poundland!) which was enough for 2 canvases and some left over.
Glue gun (or some other heat resistant way of sticking on
the crayons). I've seen other people suggest using the glue dots. Or double
sided sticky tape *might* work. But I've got a glue gun so used that.
A hairdryer. Everyone has one of those :)
That's it. And maybe a disposable tablecloth to protect the
surroundings from a waxy coating!
.jpeg) |
| Choose which colours you want |
.jpeg) |
| Glue on the crayons to the top of the canvas and leave to harden overnight |
.jpeg) |
| The 8yo's canvas - propped up at an angle using masking tape at the bottom. You need it at an angle so the wax runs down properly. |
.jpeg) |
| The 8yo's picture mid-melt |
.jpeg) |
| D getting ready to start his. We added his initial and star stickers to enable "tape resist" art. We also used a baking tray to keep it propped up at an angle - much more effective than masking tape! |
.jpeg) |
| Concentrating hard... (sadly the J bit the dust pretty early on and got blown away!) |
.jpeg) |
| The wax rivers were so mesmerising to watch... |
.jpeg) |
| D's picture |
.jpeg) |
| Not too much splatter on the tablecloth (a disposable one from Poundland) |
.jpeg) |
| How pretty is the "waste" product? |
Tip:
When you first start aim the hairdryer along the bottom and middle of the crayons to start the melting process. Then move it to the top. If you aiming from the front you will get more of a splatter effect (like the 8yo's pic). If you aim more directly from above you create more 'rivers' (like D's pic).
When you first start aim the hairdryer along the bottom and middle of the crayons to start the melting process. Then move it to the top. If you aiming from the front you will get more of a splatter effect (like the 8yo's pic). If you aim more directly from above you create more 'rivers' (like D's pic).
Once the pictures were "finished" (the 8 yo had a
shorter attention span than the toddler amazingly - you can see by how much wax
melted) we left them to dry/harden for an hour or so.
On D's I then carefully scored around the stickers with a
craft knife and then peeled them away as best as possible. Some wax had got underneath
them but was quite easy to scrape away with a blunt knife.
.jpeg) |
| Once the masking tape stars had been removed |
We decided to paint them gold though to make them extra
"twinkly" and I think they look cute like this :)
.jpeg)
.jpeg)
Next time I might try writing D's initial with the glue gun
and then melting the crayons over, as the masking tape just wasn't strong
enough to hold. Then I could peel away the glue after, similar to 'tape resist'
pictures. If you try it just remember to make the glue flat enough that the wax
can run over it to get underneath the initial too...
This was such a fun project to do with D. I would LOVE to see if anyone else tries this, or if you've
done it before and have any other top tips :)
******
And then with the leftover crayons we made these:

Aren’t they pretty? D was very happy to get drawing with
them as soon as they were cool.
Read about how we made them in this post ("Make your own crayons").
******
Disclaimer - you know your own child best. Hot wax is hot. As is the end of a hairdryer. I knew that I could trust D to do this activity safely and he was heavily supervised throughout the process, but this project might not be suitable for all toddlers.
No comments:
Post a Comment